
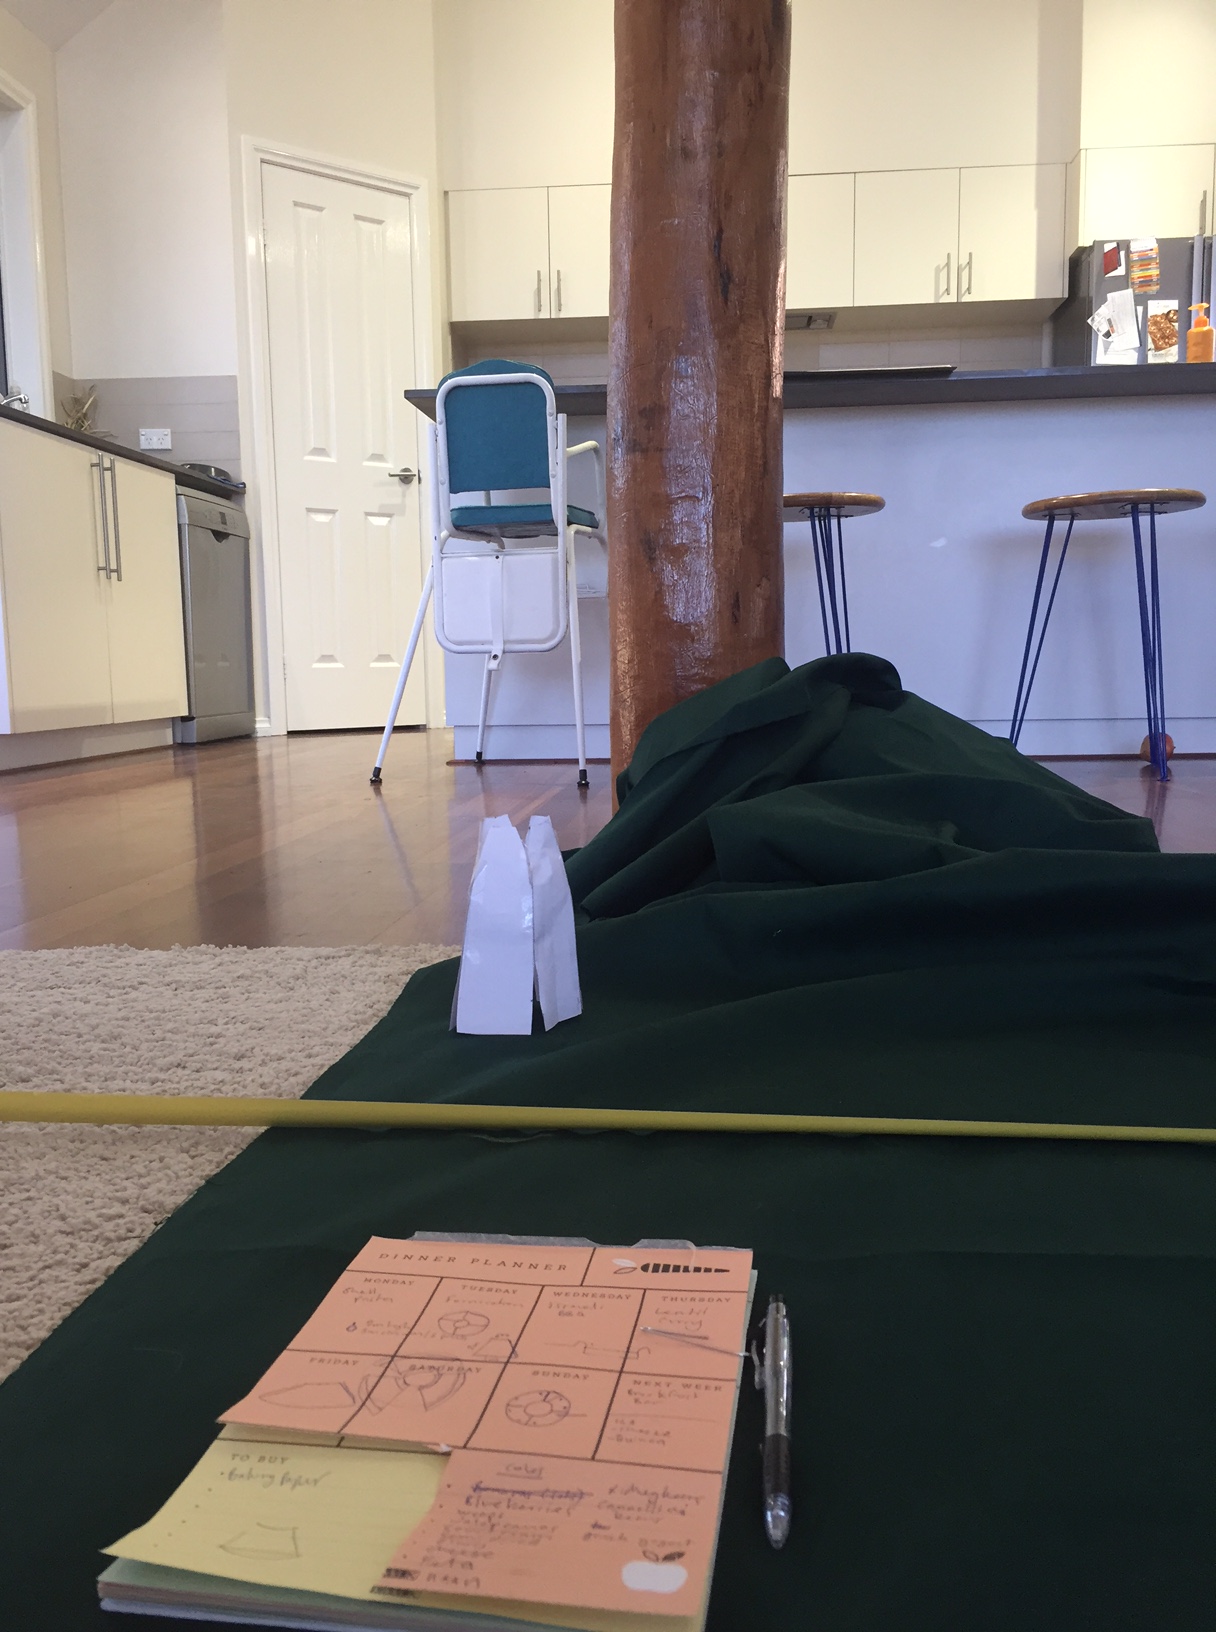
Every year I try to avoid buying and storing a massive Christmas tree. We have a bush pole in the middle of our living area so we thought we’d try turning it into a tree.
Here’s a quick tutorial if you want to give it a go.
Materials
– 6m cotton drill fabric (108cm wide)
– Retic pipe and screws
1. Measure and plan the shape of your tree
We made our tree with a 86cm circumference at the top and 3m circumference at the bottom.
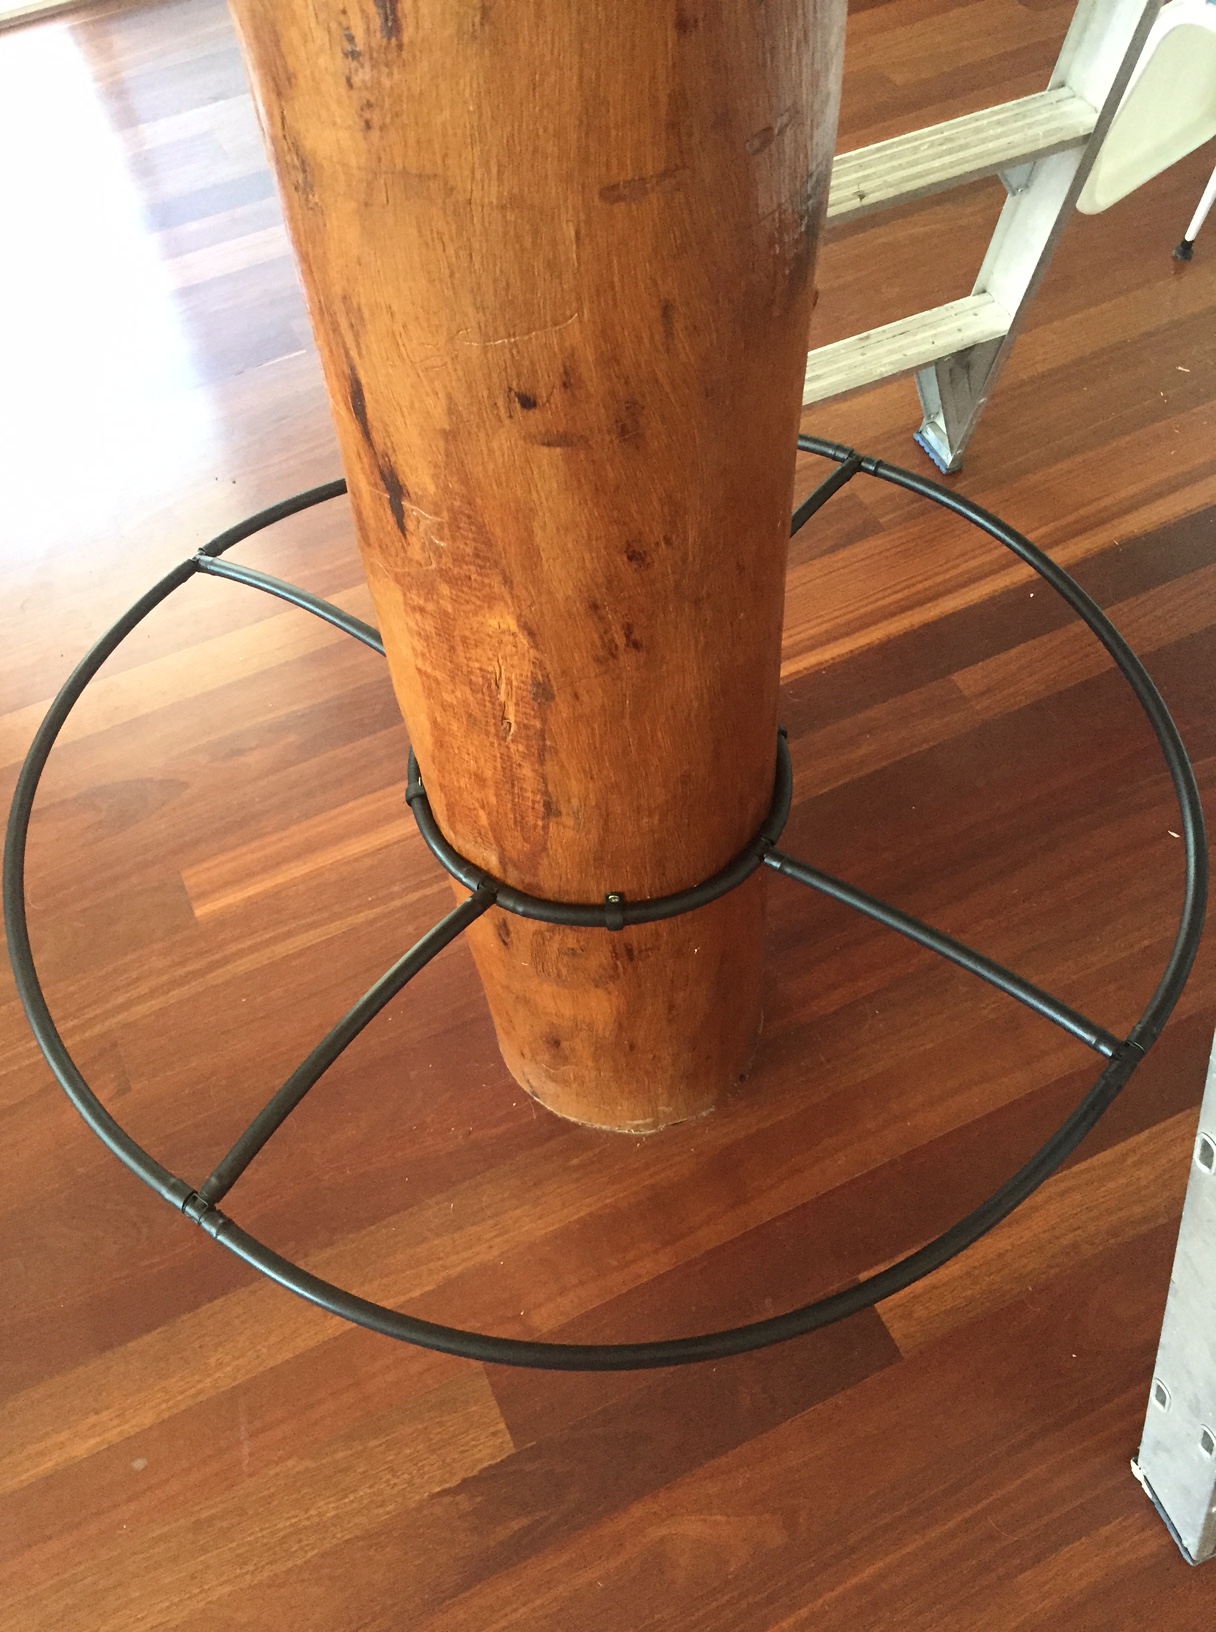
2. Make the framework
Cut retic pipe to size and use joiners so you can slide the fabric onto the pipe and then attach it to the pole later. The pipes need to be fixed to the bottom and top of the pole with nails or screws to create tension on the fabric.
Note: it took a bit of trial and error to get the tension right.
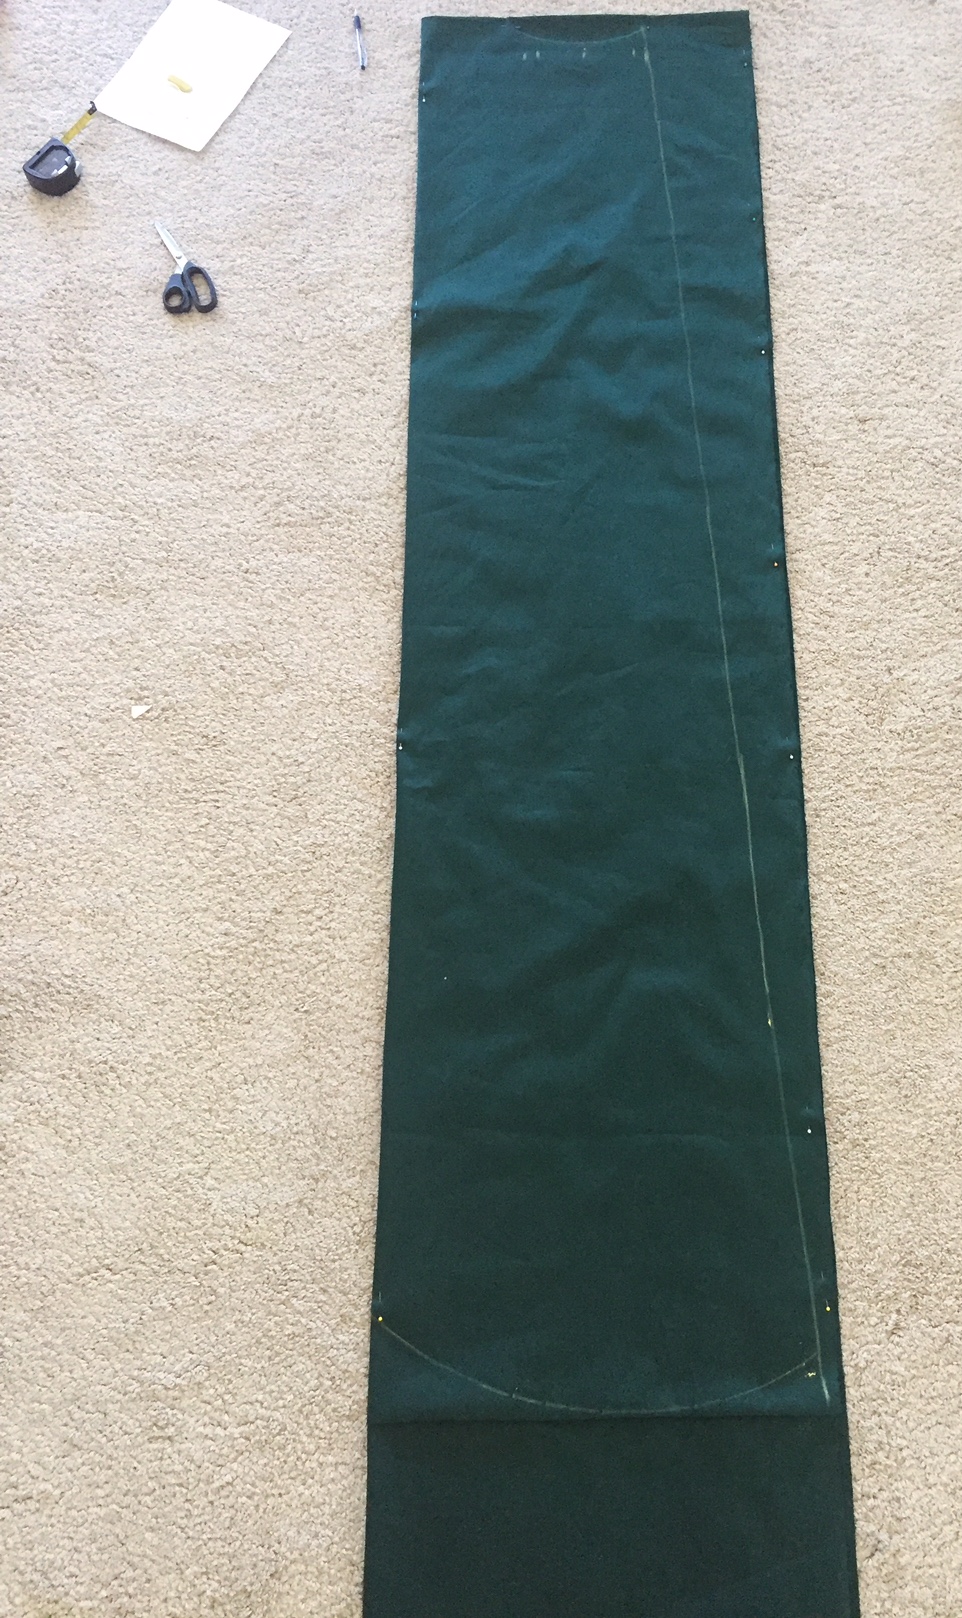
3. Measure and cut the fabric panels
I created 6 panels that were 2m high. I cut in a funnel shape so each piece was 16cm wide at the top and just over 1m wide at the bottom. You will need to adjust your panel size to match the top and bottom circumference of your tree……remember to add seam allowance.
4. Sew and attach to the pole
Stitch all the panels together except for one seam. Put buttons, zip, velco or ties along this seam so you can fasten this seam closed later. Fold over the top and bottom of the fabric and sew channels wide enough for the pipe to fit through. Slide the fabric on the pipes. Attach pipes to the bush pole and fasten the tree closed.
Decorate the tree using safety pins to hold decorations on and add battery operated lights!
