The castle is bigger and better! Still working on Friends, Folly and Flowers installation. After a big week creating it was awesome to sit down, relax and watch the kids play.
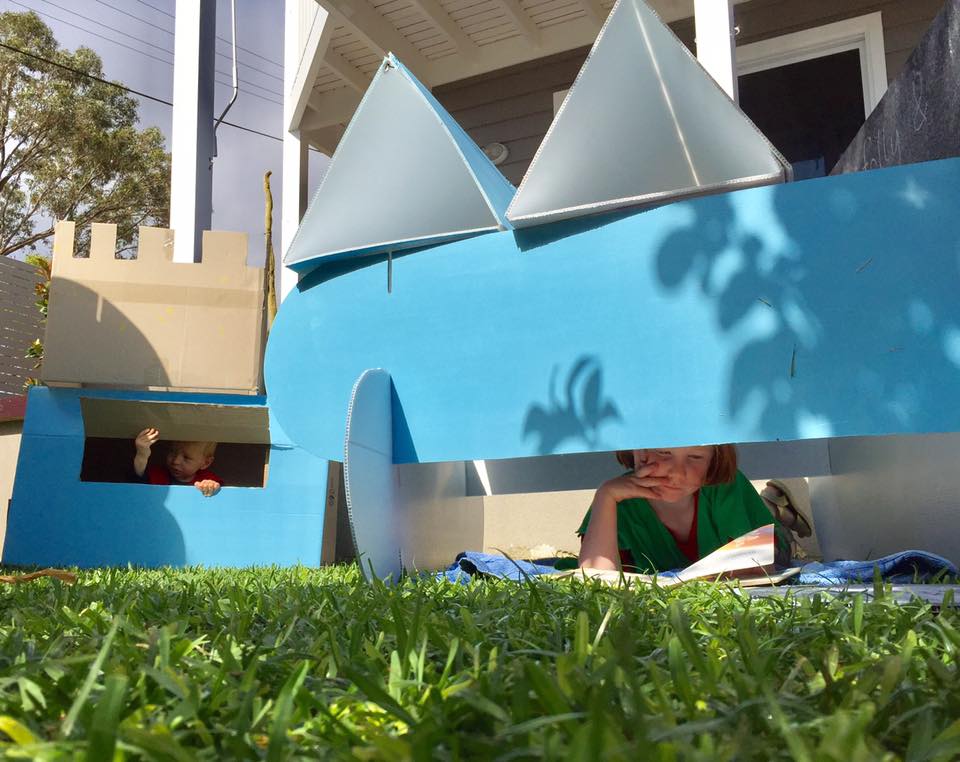
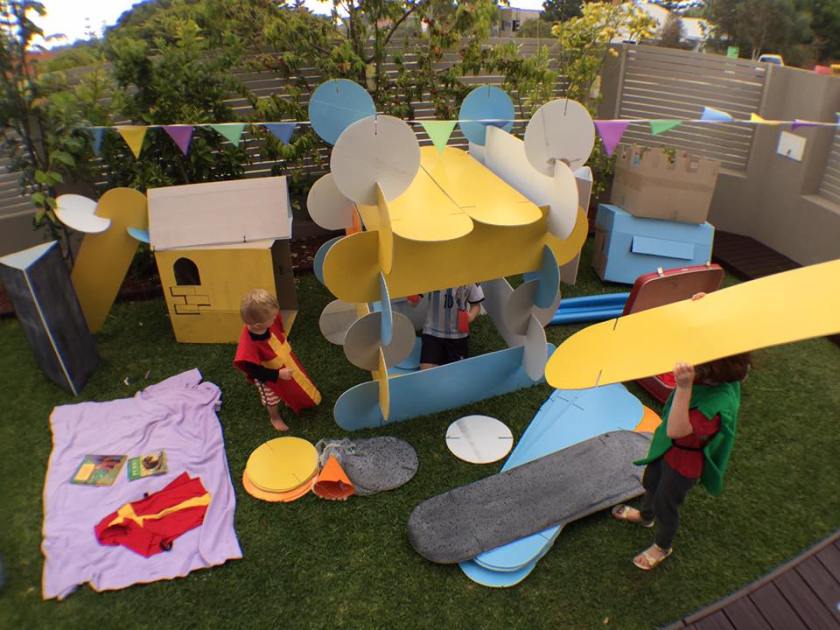
The castle is bigger and better! Still working on Friends, Folly and Flowers installation. After a big week creating it was awesome to sit down, relax and watch the kids play.

Got together with my neighbours and threw the best street party in the hood. Music, art and sharing produce.


Loved being part of this event again! Even though we were buffered by the wind there was so much fantastic energy in the assembly yard.


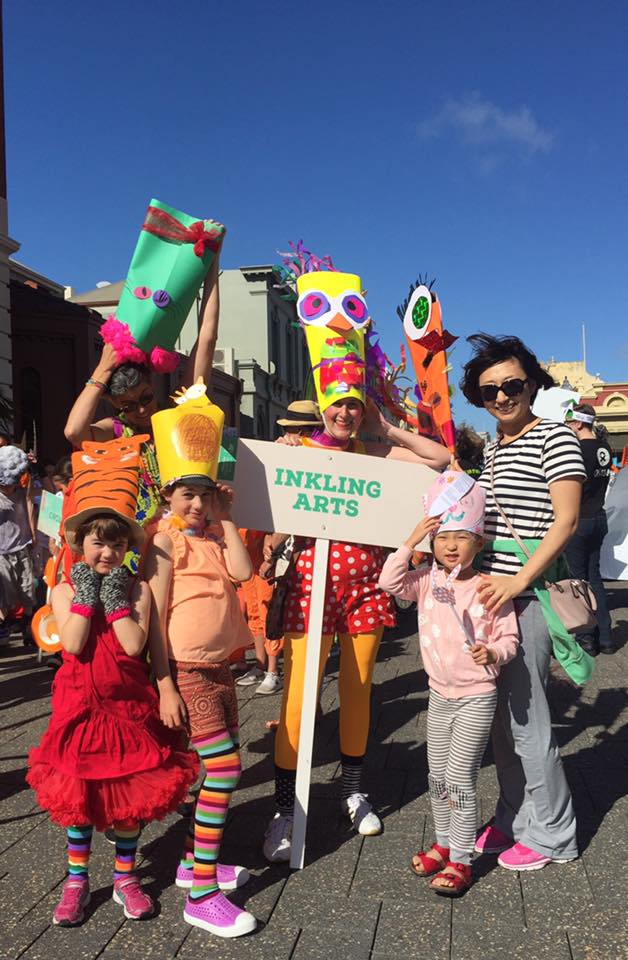
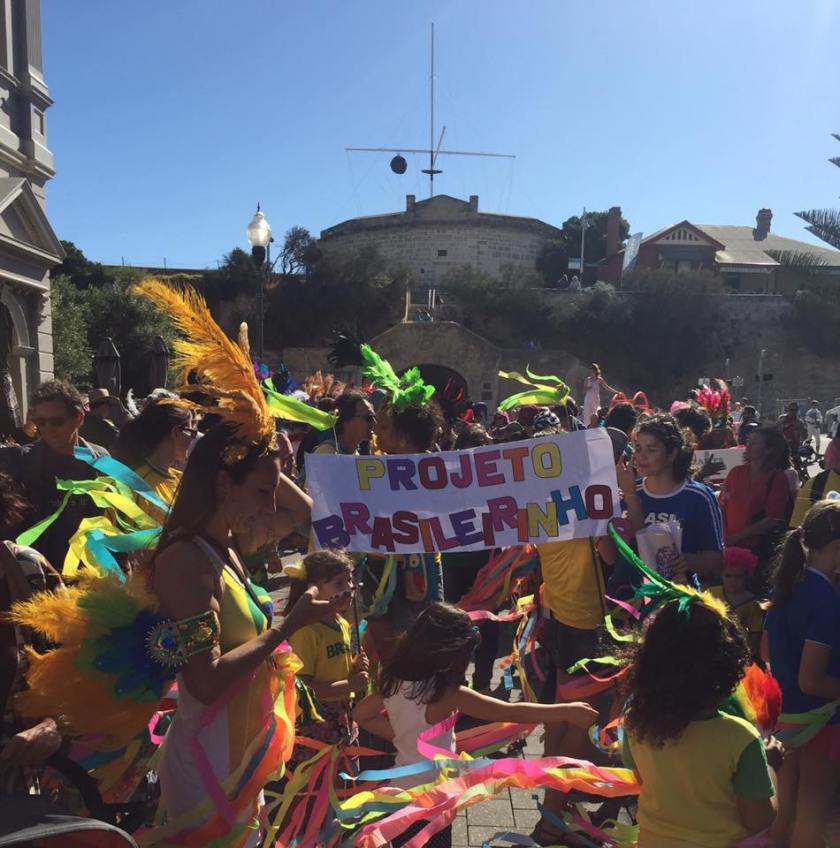
As part of the Fremantle Festival Street Parade I had a chat with Sam from Inkling Arts to create an activity so families could join in the parade. Sam made a template and an amazing instructional video to create a Rainbow Animal.
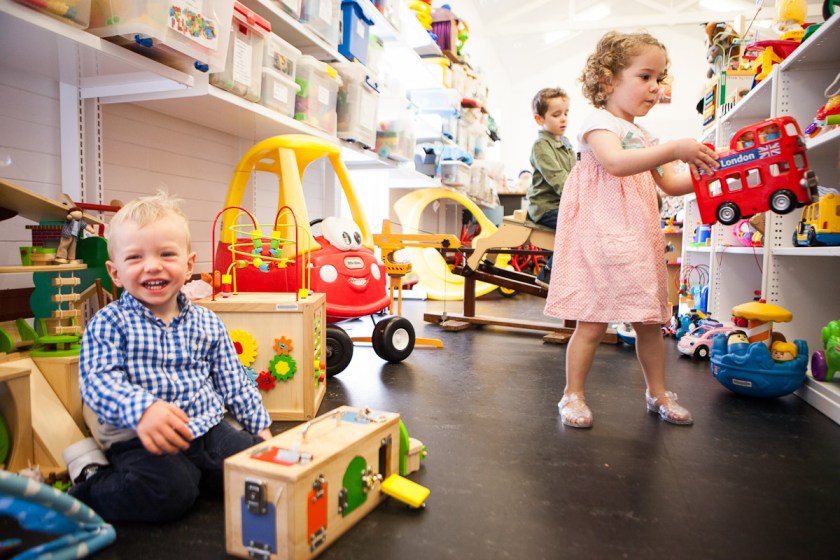
I love my local toy library! I was thrilled to be able to help them out with a project recently. As part of the project I got together with some friends and photographer Max Kordyl to take some amazing shots.
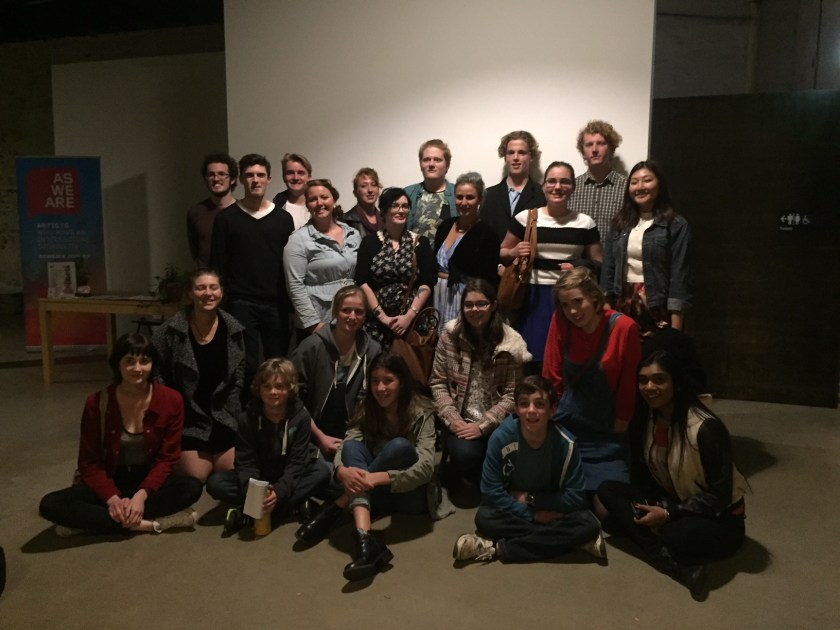
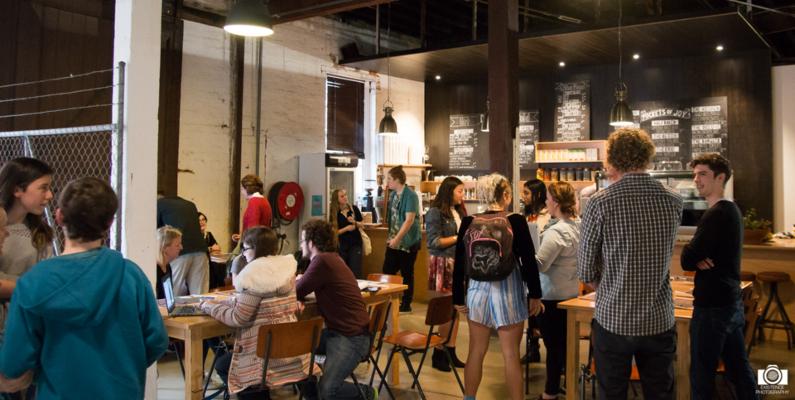
I’m currently working on a project for City of Fremantle, helping set up the Youth Advisory Council. It’s amazing…..so much talent, energy and passion in the SWITCH. (the group of young people driving this concept)
We are collaborating online and we met face to face recently so it’s full steam ahead. Here’s some pictures taken by SWITCH member Keane Bourke view his website existencephotography.com
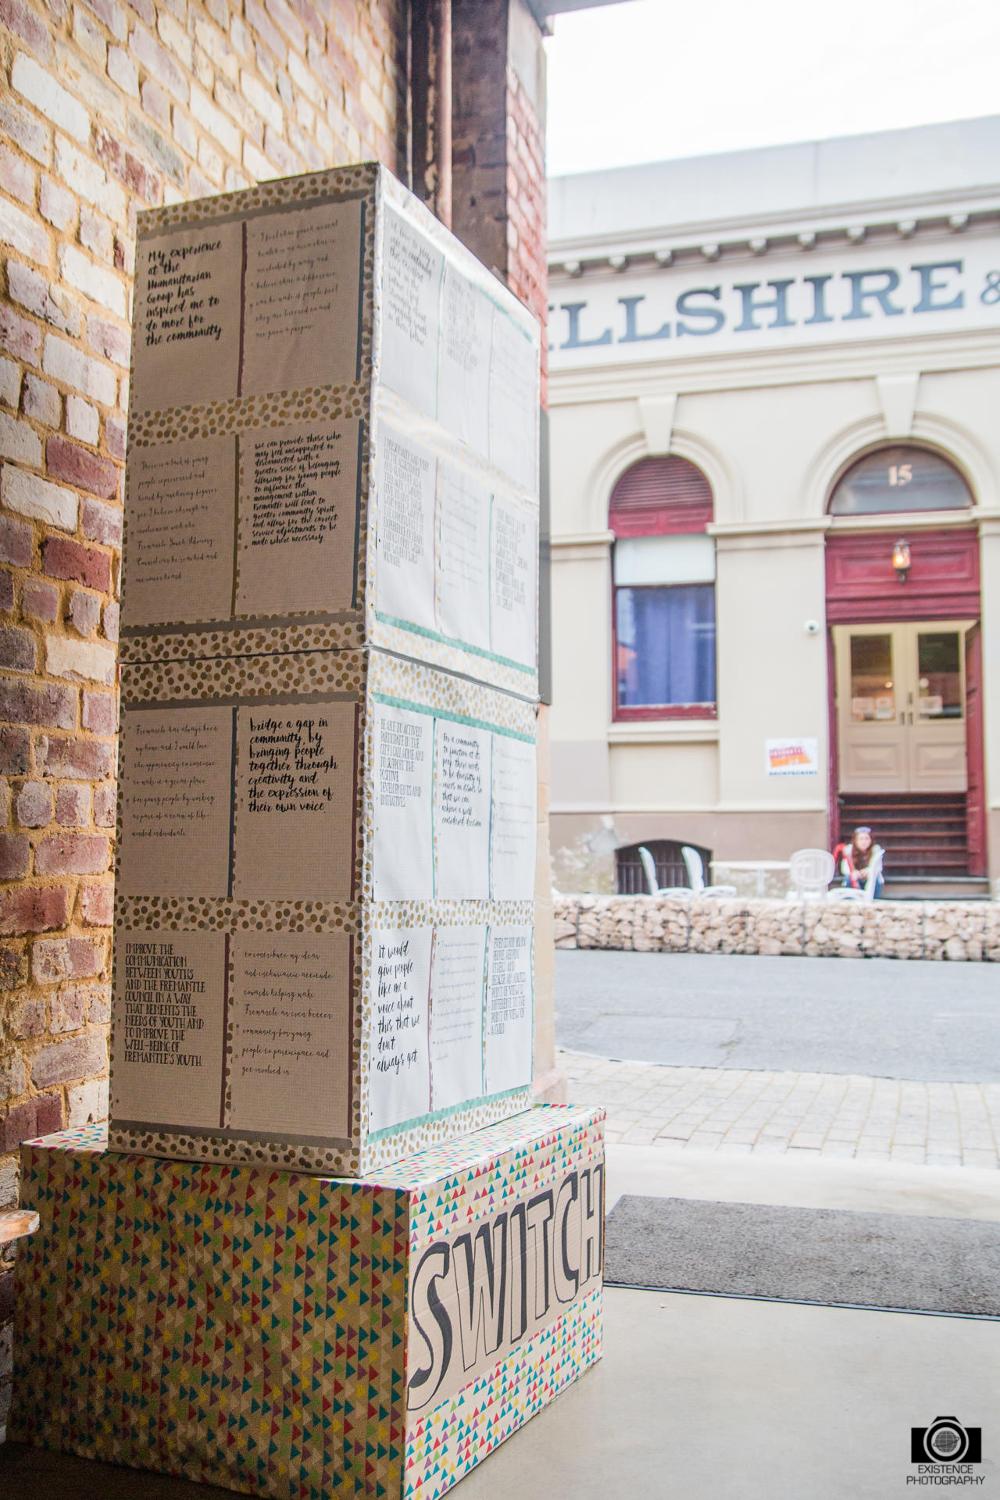
photo: existence photography

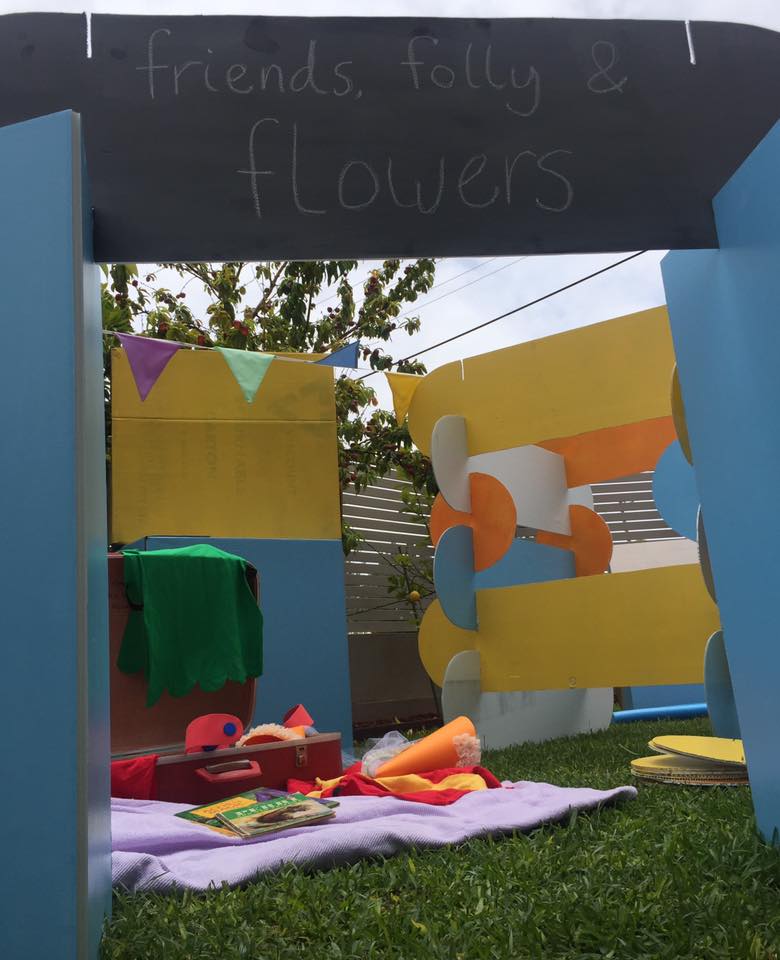
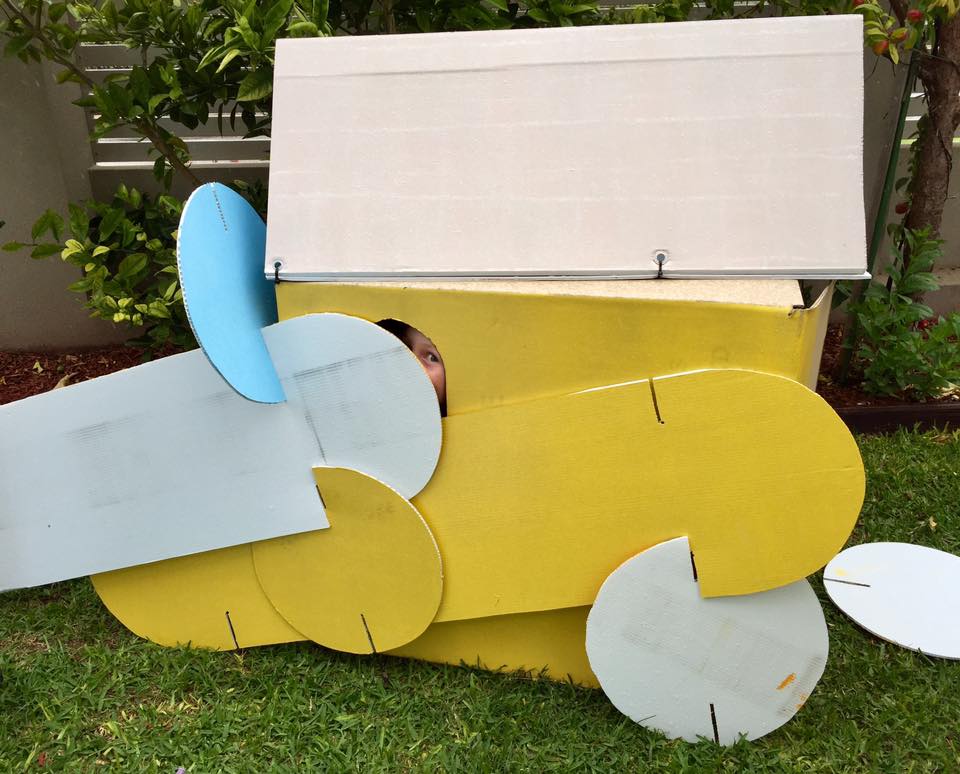
I’m developing and testing a concept with my talented neighbour Bridget. Friends, Folly and Flowers is a pop up imagination playground. It’s a free play space which allows children and their parents to run in and play straight away. no lines, no waiting, no structured activity.
Here’s some photos from our experiments so far.


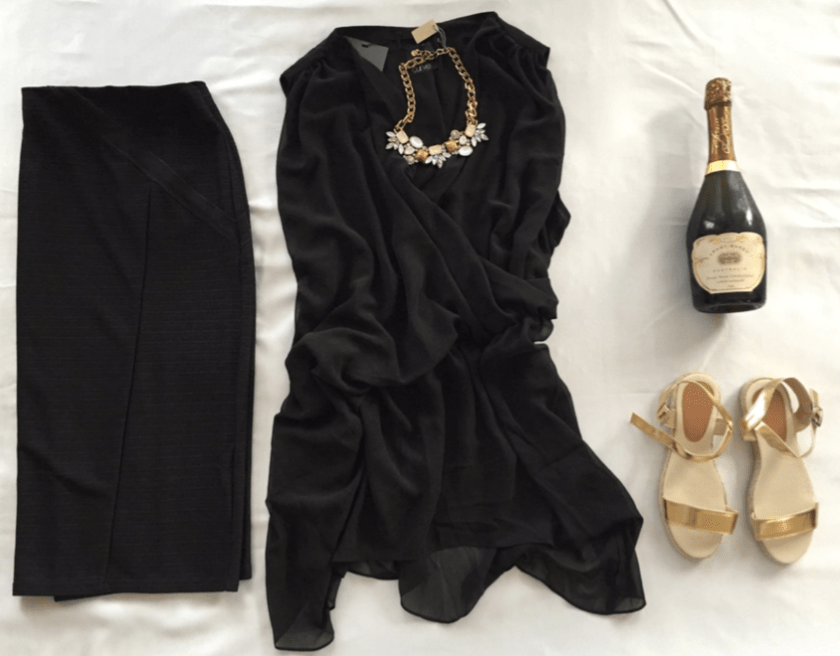
My Mum was traveling to Europe for the summer to attend my brothers wedding. So even though we live in different countries I started intervening about what she was going to wear as mother of the groom…… Then I got carried away and organised a whole wardrobe for her holiday. It was shipped over waiting for her when she arrived. So I’d love to post a picture of the final outfit she wore to the wedding but I still don’t have any official photos yet.
Read the magazine of ideas I put together for her.

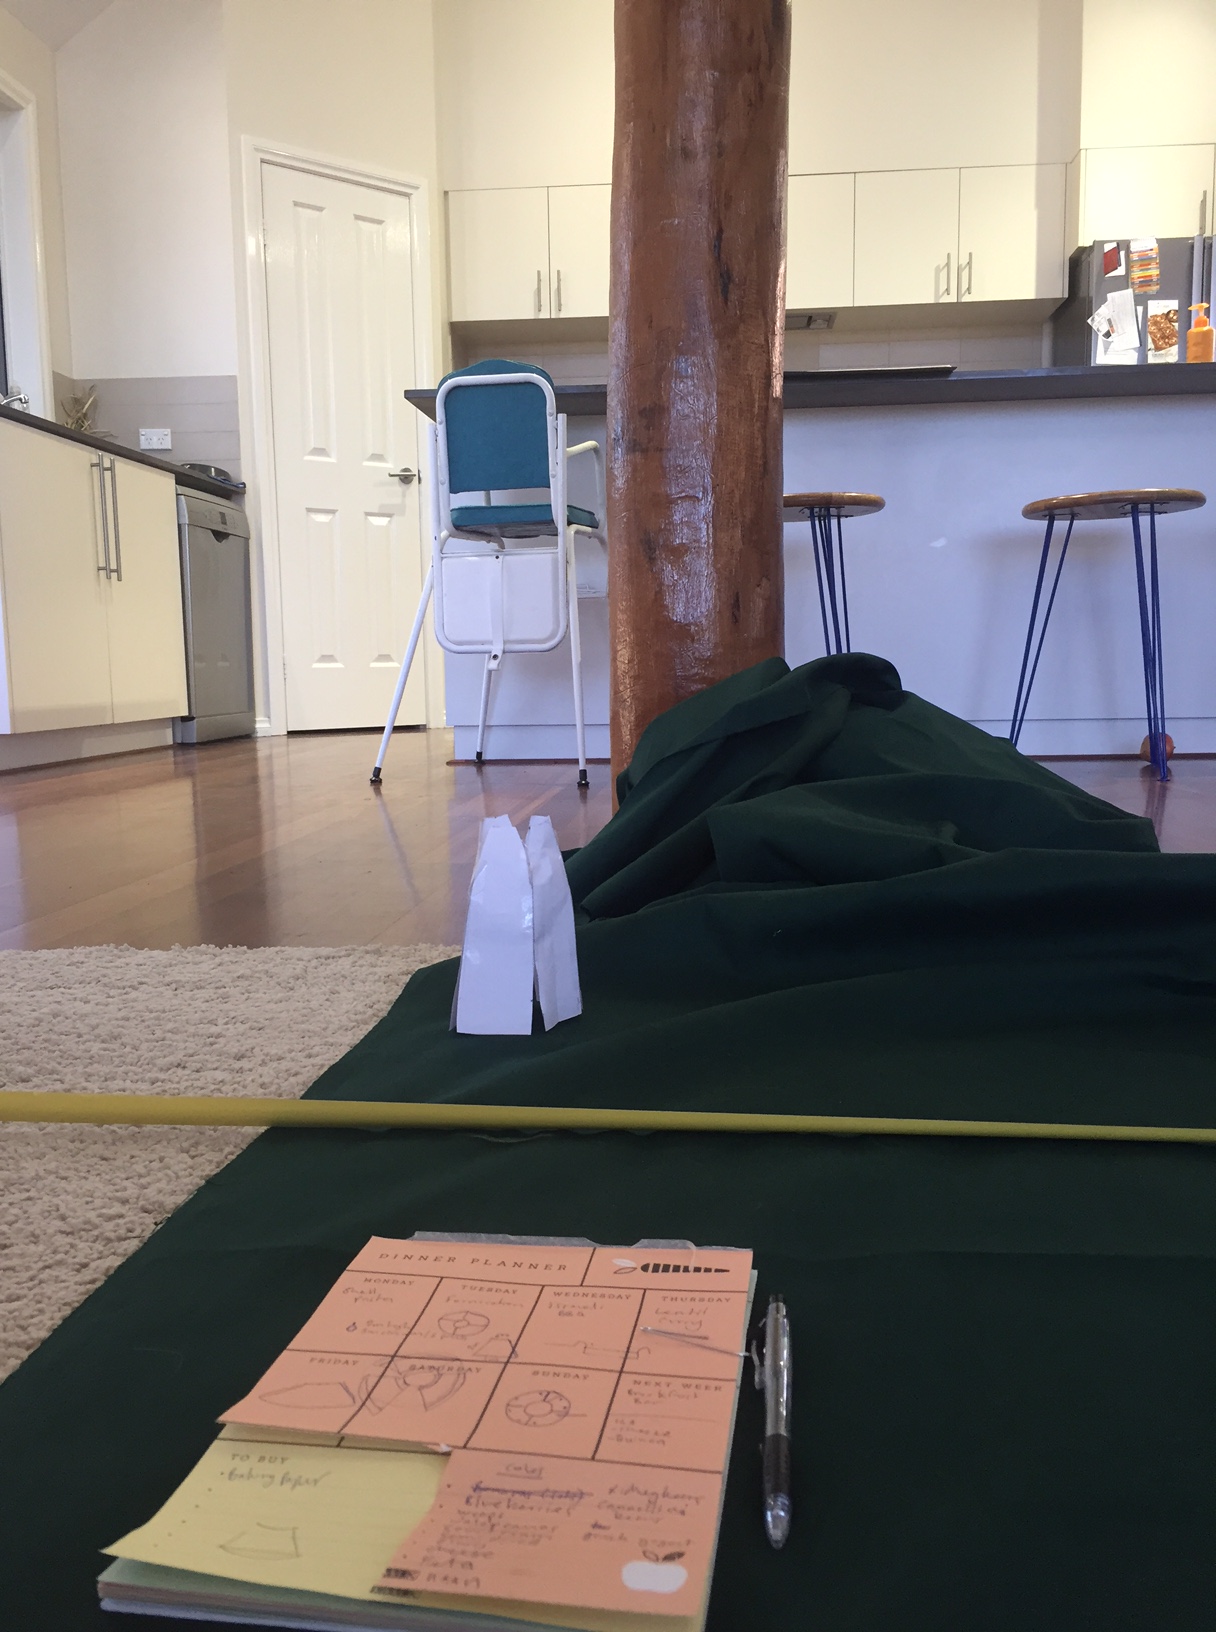
Every year I try to avoid buying and storing a massive Christmas tree. We have a bush pole in the middle of our living area so we thought we’d try turning it into a tree.
Here’s a quick tutorial if you want to give it a go.
Materials
– 6m cotton drill fabric (108cm wide)
– Retic pipe and screws
1. Measure and plan the shape of your tree
We made our tree with a 86cm circumference at the top and 3m circumference at the bottom.
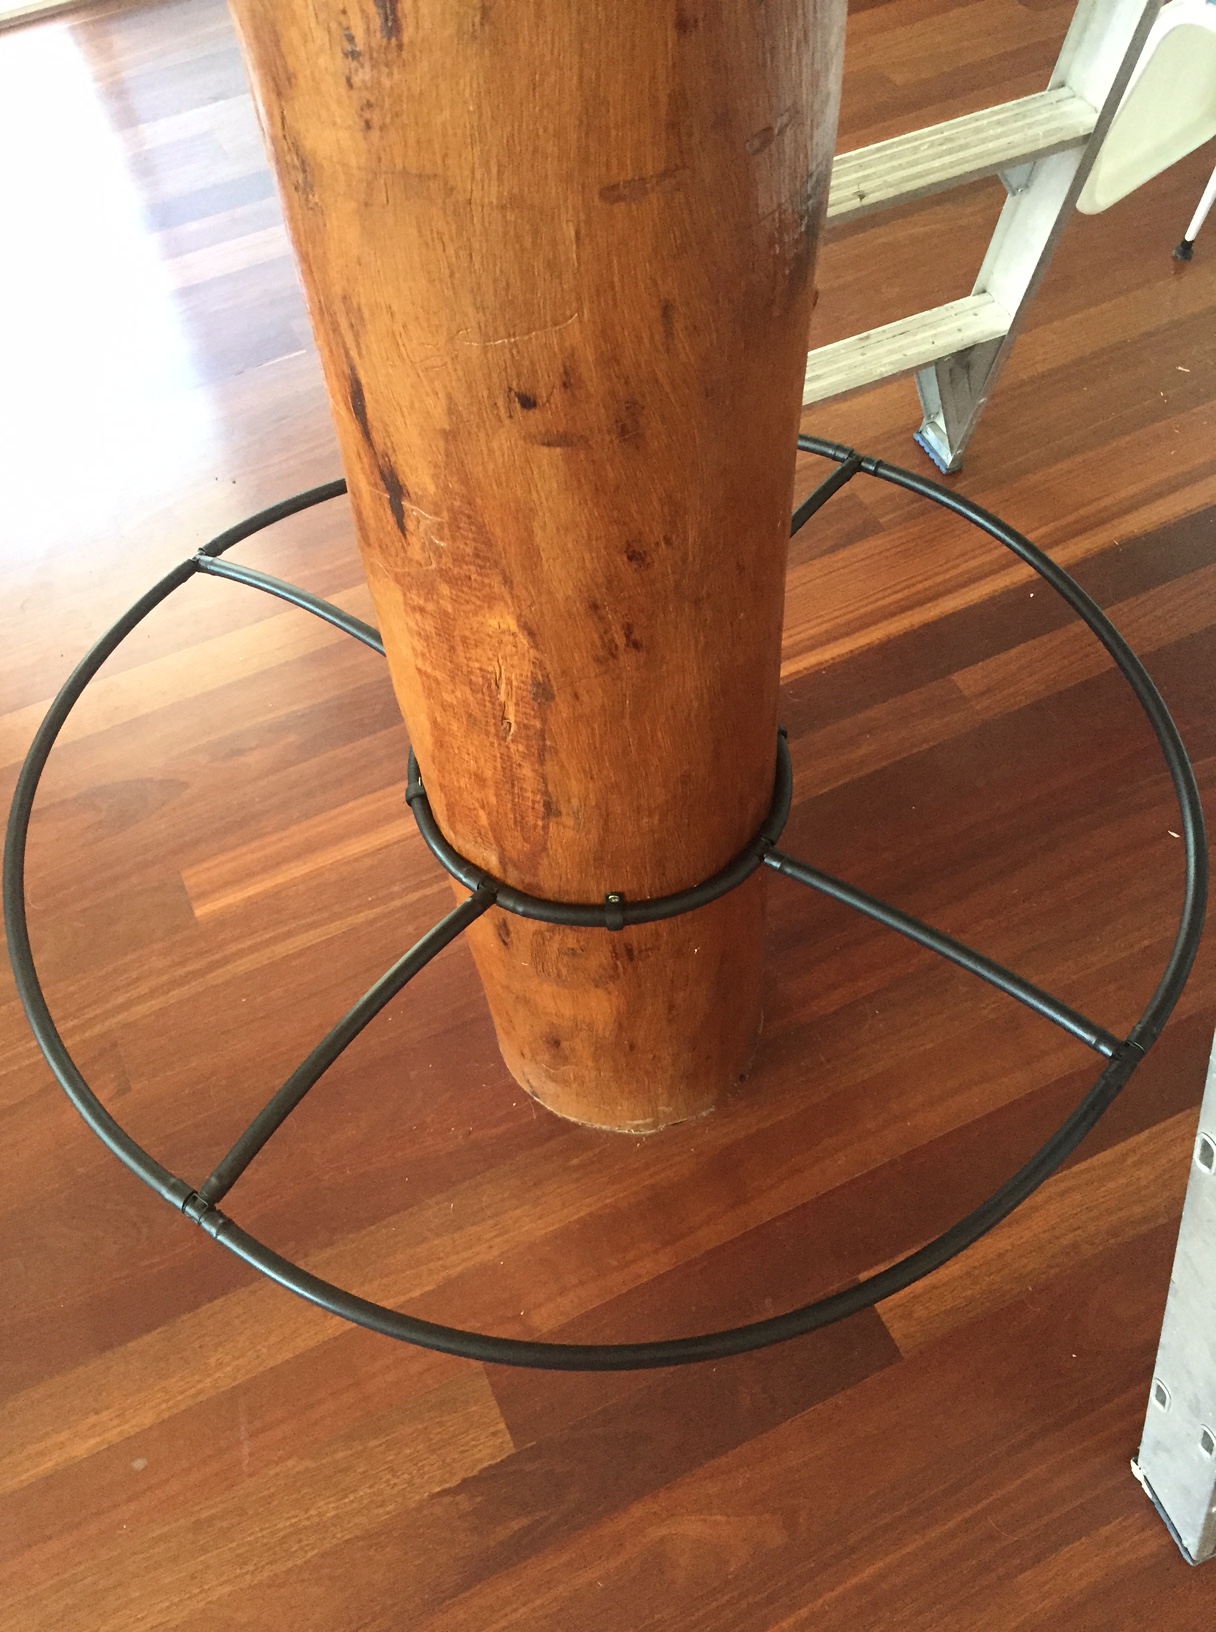
2. Make the framework
Cut retic pipe to size and use joiners so you can slide the fabric onto the pipe and then attach it to the pole later. The pipes need to be fixed to the bottom and top of the pole with nails or screws to create tension on the fabric.
Note: it took a bit of trial and error to get the tension right.
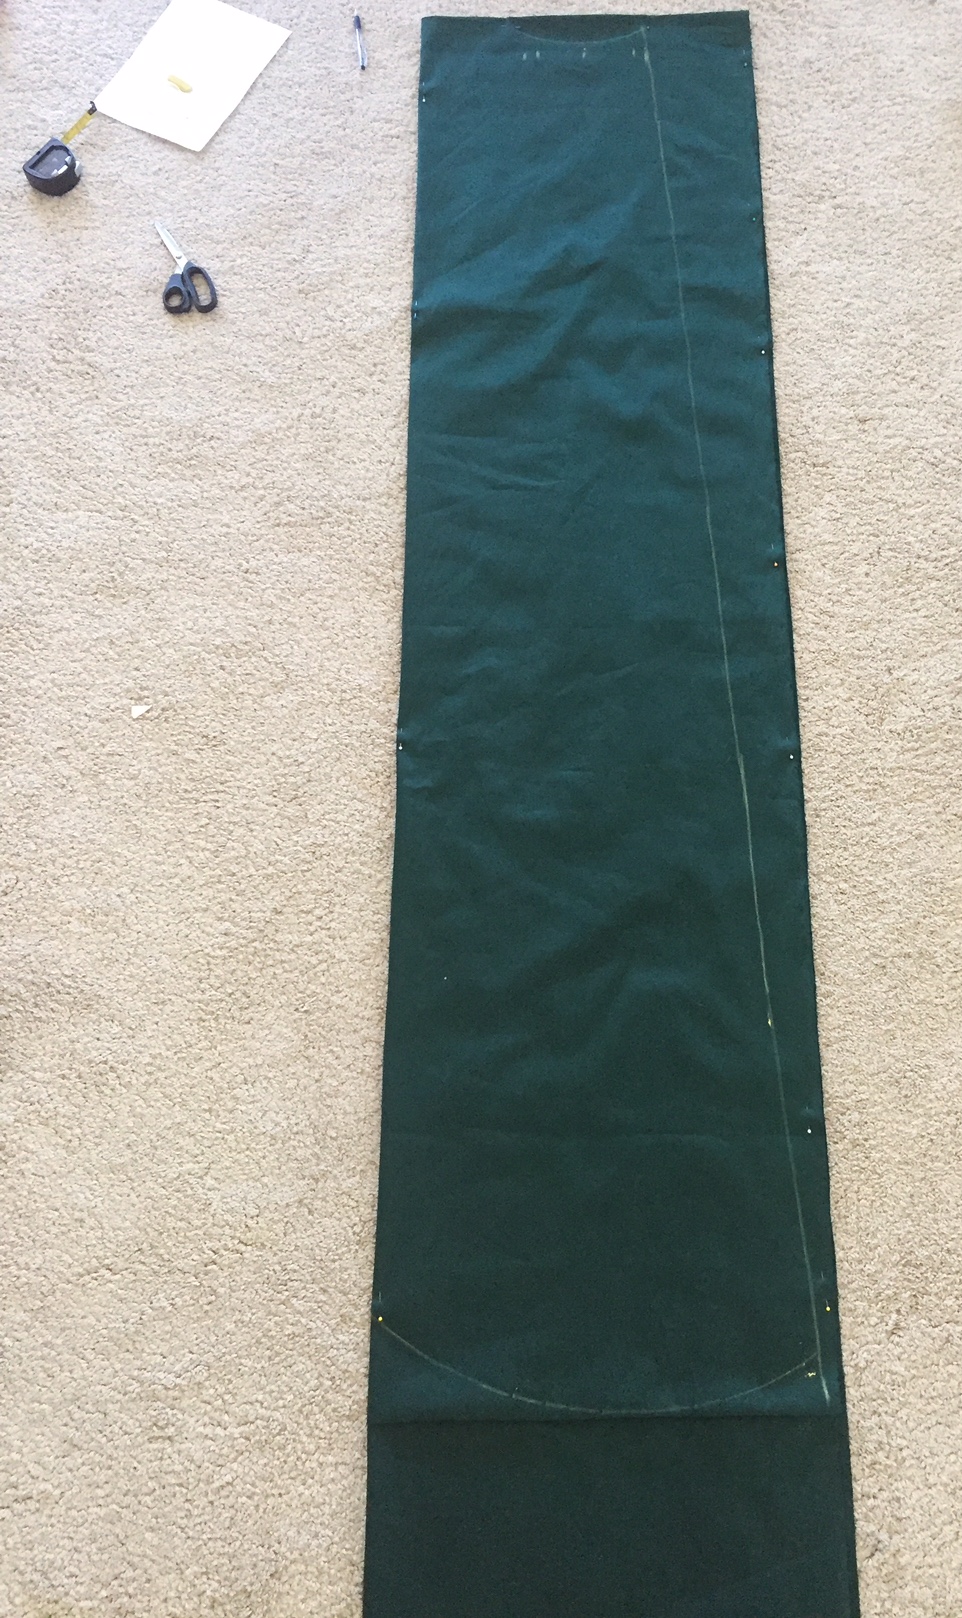
3. Measure and cut the fabric panels
I created 6 panels that were 2m high. I cut in a funnel shape so each piece was 16cm wide at the top and just over 1m wide at the bottom. You will need to adjust your panel size to match the top and bottom circumference of your tree……remember to add seam allowance.
4. Sew and attach to the pole
Stitch all the panels together except for one seam. Put buttons, zip, velco or ties along this seam so you can fasten this seam closed later. Fold over the top and bottom of the fabric and sew channels wide enough for the pipe to fit through. Slide the fabric on the pipes. Attach pipes to the bush pole and fasten the tree closed.
Decorate the tree using safety pins to hold decorations on and add battery operated lights!
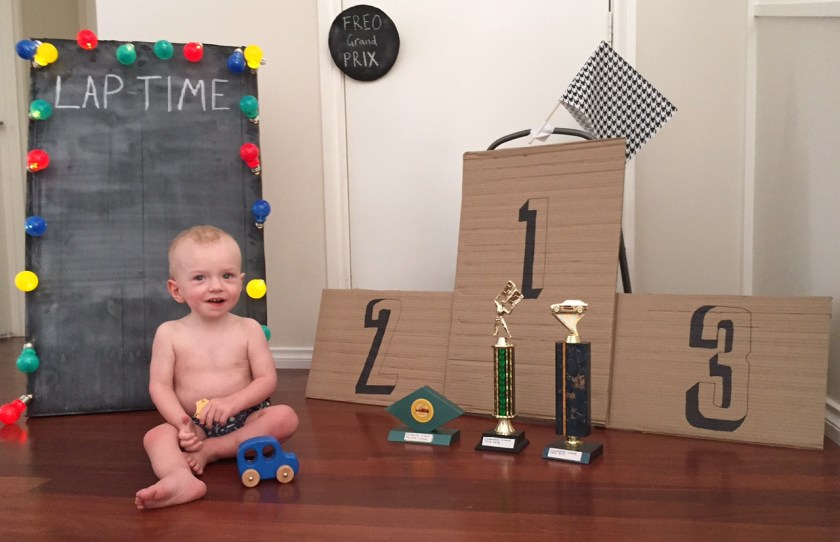
So this event challenged my skills the most: designing invite, cake baking, cardboard crafting, creating a playlist of car songs and learning to troubleshoot scalextrics technical difficulties.


